HTML Attributes
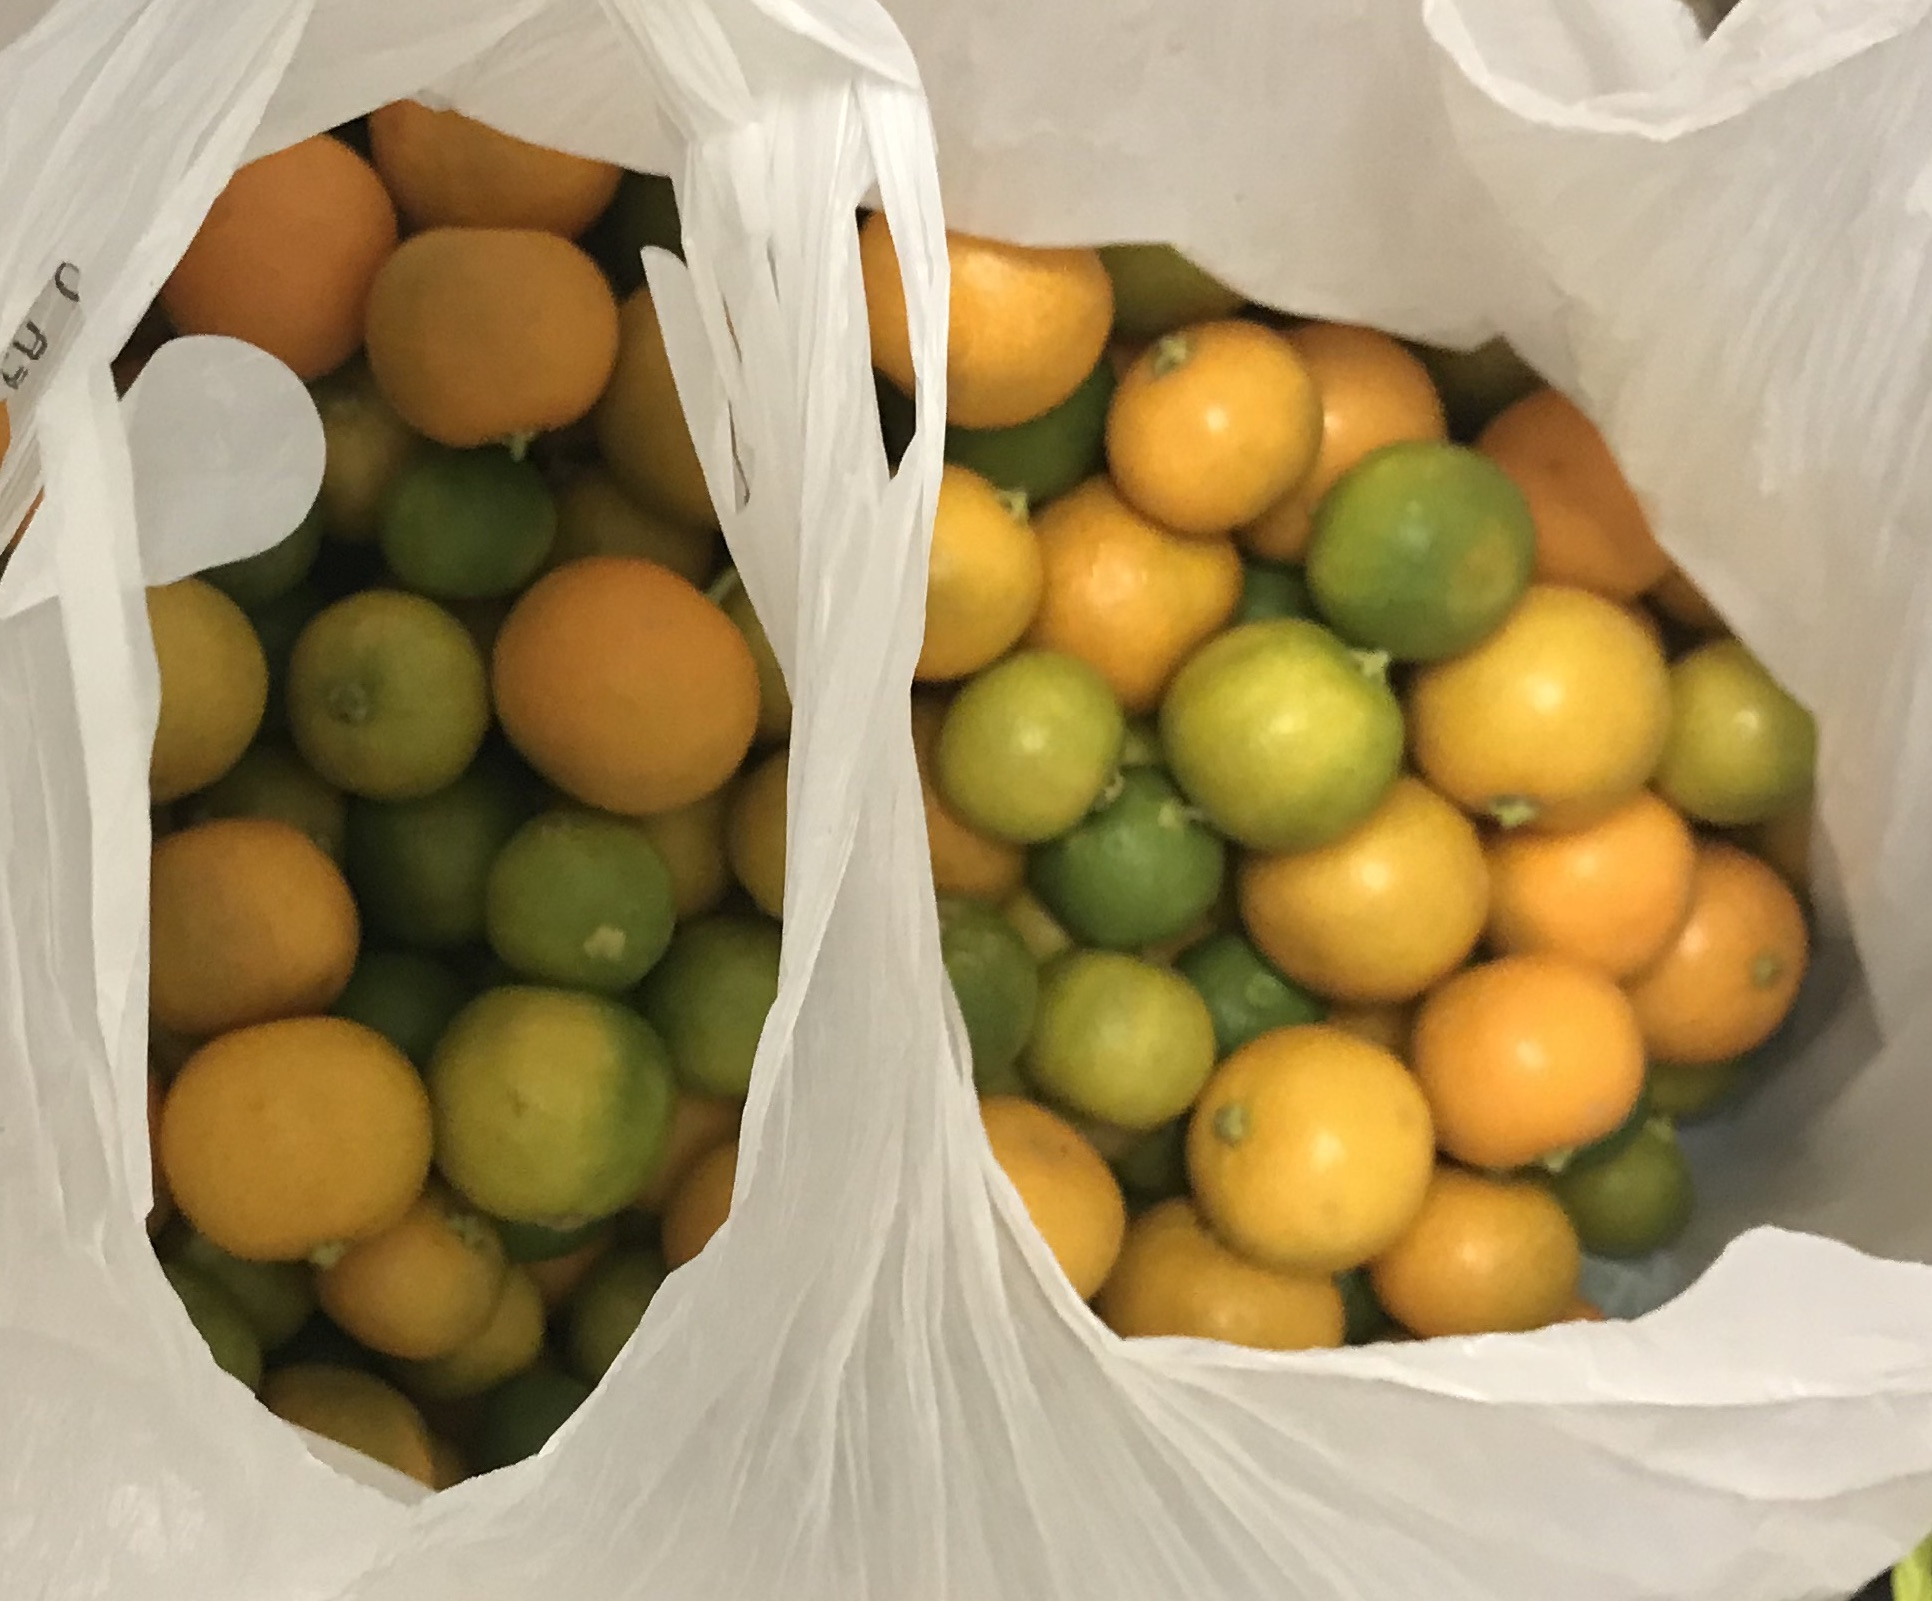
So far we’re showing people some pretty good calamondin facts, but right now no one who visits our page is going to know what calamondins look like. How will they know to eat one if they see it in the wild?
And thus our work continues.
What we really need is a picture
of some calamondins. And this is
where our enigmatic friend the
img element
(also known as the image element)
comes in. img elements are for
displaying images.
You can add one by putting this somewhere
in your html: <img />.
You’ll notice this time there isn’t an
opening tag and a closing tag like
<img></img>
, but there
is that weird slash after img.
When you see
a tag like that it means that you’re
using a "self-closing" tag. Instead of
a separate opening and closing tag,
some elements have just one tag that
counts as both the opening tag and
the closing tag all at once.
img is one of them.
Let's add the <img /> to
our code just after the
</ul> tag:
<html>
<head>
<title>Calamondins are delicious!</title>
</head>
<body>
<h1>Calamondins are <em>delicious!</em></h1>
<p>Awesome things about calamondins:</p>
<ul>
<li>they are delicious</li>
<li>they are sour</li>
<li>they are small enough to eat in one bite</li>
</ul>
</html>
Calamondins are delicious!
Awesome things about calamondins:
- they are delicious
- they are sour
- they are small enough to eat in one bite
Hm...this is awkward...in
spite of our masterful
work, no image is showing up on the page yet.
That's because we need to tell
our img element what image to display.
We also need to provide it with a description
of the image so people who are blind or vision-impaired
can tell what is in the image.
Update the img tag to look like this:
<img src="/images/calamondins.png" alt="a bag of calamondins"/>
<html>
<head>
<title>Calamondins are delicious!</title>
</head>
<body>
<h1>Calamondins are <em>delicious!</em></h1>
<p>Awesome things about calamondins:</p>
<ul>
<li>they are delicious</li>
<li>they are sour</li>
<li>they are small enough to eat in one bite</li>
</ul>
</html>
Calamondins are delicious!
Awesome things about calamondins:
- they are delicious
- they are sour
- they are small enough to eat in one bite
Oh dear.
We've added a src attribute to say what
image to display, and an alt
attribute to describe the image.
But we missed one crucial detail:
by default, images get displayed at their
actual size, no matter how big the page is.
Let's add one more HTML attribute — the
width attribute —
to shrink it down a bit.
Let's give that image element a
width="100%" attribute:
<html>
<head>
<title>Calamondins are delicious!</title>
</head>
<body>
<h1>Calamondins are <em>delicious!</em></h1>
<p>Awesome things about calamondins:</p>
<ul>
<li>they are delicious</li>
<li>they are sour</li>
<li>they are small enough to eat in one bite</li>
</ul>
<img
alt="a bag of calamondins"
/>
</body>
</html>
Calamondins are delicious!
Awesome things about calamondins:
- they are delicious
- they are sour
- they are small enough to eat in one bite
There, much better. Because our img
element is inside our body
element, setting its
width attribute to
"100%" makes the
image width the same as the width of the
body element.
So now people know what calamondins look like, but what if our intrepid page visitors want to go deeper?
What if they want to know where calamondins are from, their history, how to cultivate them, or whether they believe a hierarchical centralized state can ever truly be non-exploitative?
For our dear readers to learn more, we need a Wikipedia link. It will look like this:
<a href="https://en.wikipedia.org/wiki/Calamondin">To learn more about calamondins, click here.</a>
The "a" in the a element stands for
"anchor" ("anchor" is just another name for a link),
and the href attribute
stands for "hyperlink reference" — meaning the page to go to when the link
is clicked.
Let's add it! We'll put it inside of a
p element like this:
<html>
<head>
<title>Calamondins are delicious!</title>
</head>
<body>
<h1>Calamondins are <em>delicious!</em></h1>
<p>Awesome things about calamondins:</p>
<ul>
<li>they are delicious</li>
<li>they are sour</li>
<li>they are small enough to eat in one bite</li>
</ul>
<img
width="100%"
src="/images/calamondins.png"
alt="a bag of calamondins"
/>
<p>
</body>
</html>
Calamondins are delicious!
Awesome things about calamondins:
- they are delicious
- they are sour
- they are small enough to eat in one bite
Nice work!
There are a lot of different kinds of HTML
attributes that work with different elements.
So far, we've seen that the src,
and alt attributes work with
img elements and the
href attribute
works with a elements.
If you want to learn more about which tags work
with which elements, there's a great table of info
Okay, so we've covered basic html, basic attributes, and basic styling. Now let's put them all together and make this page look really professional in the next lesson.